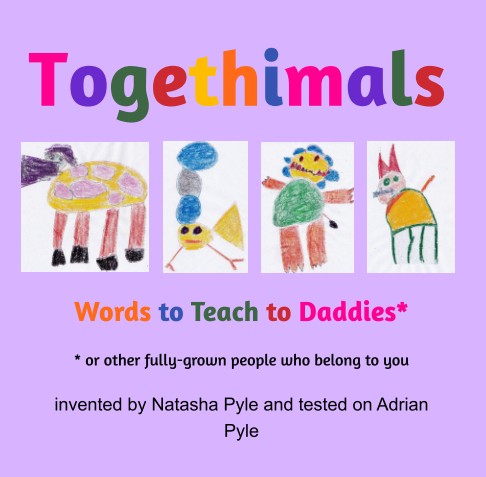
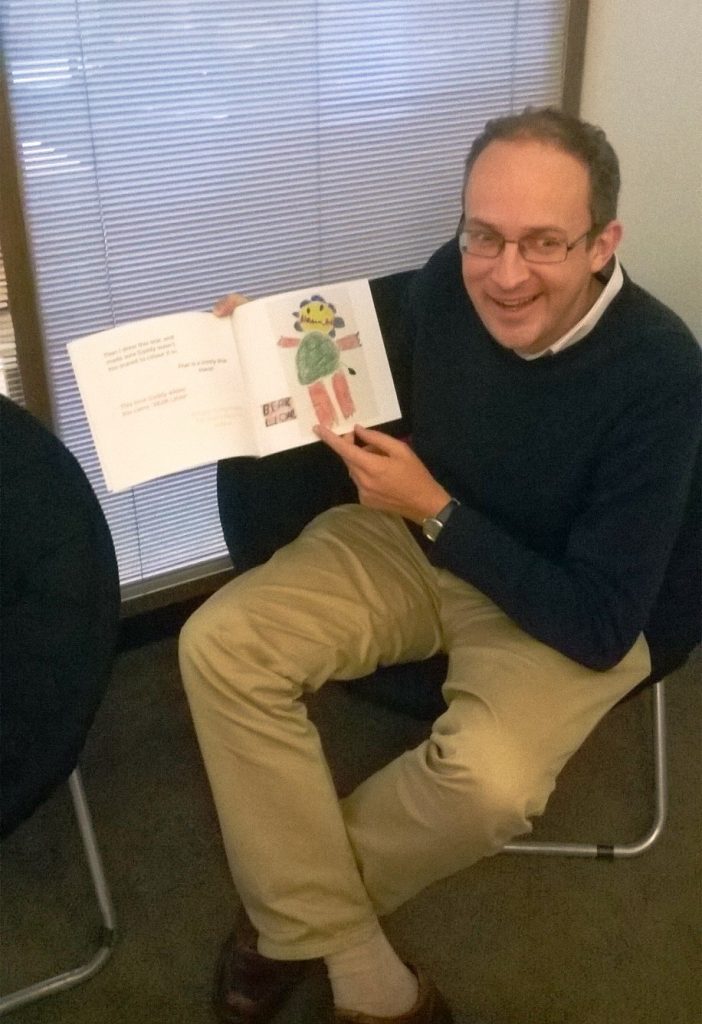
When I heard that a friend Adrian Pyle had self published a children’s book using his daughter’s artwork I was impressed. Firstly that he had thought to do such a cool thing, and second that he had the wherewithal to actually do it. It struck me that collaborating with a child to produce a published piece of work is something many parents would love to do, so I invited him to share his experience and know how here.
I can buy children’s books that are wonderfully written, gorgeously illustrated and impeccably produced. So why would I want to produce my own with my child?
Your home grown creations may not be children’s literary masterpieces (then again, they might). But the beauty of “having a go” at publishing – at lots of things really – is that it promotes a sense of agency for you and for your child. It connects you with what is going on for your child in the process of play. It reminds you and them what we all know somewhere deep – trial and error is good, the “perfection” of the professional product is not the only story!
So how do you write a children’s book with your child? Well I am a firm believer in the adage “the answer to ’How?’ is ‘Yes’.” In other words the beauty of the home publishing journey is trying out what seems to work for you and getting some things right and some things wrong (and learning that the distinction between right and wrong is often more about what we tell ourselves than something that is externally verifiable).
Nevertheless here are few steps that we (my daughter Natasha, who was five when we began, and I) used to create Togethimals – our first literary effort. They may encourage a first step or few steps from you. Then hopefully you will discover your own wonderful deviations from the path that lies below and tell the story of that new path to inspire others.
1) Notice a subject or idea that excites interest or passion in both of you.
When we have young children it may be true that what excites us as parents is discovering what creates a sense of passion or excitement in the child. In our case it was a case of noticing what Natasha was trying to teach me. What was she drawing; what games was she inventing; what was she trying to write about and what words was she challenging herself to understand? In our case there was a pattern of creation and activity relating to animal pictures and names. This culminated in an invitation to start colouring and naming “together animals” – animals that she had made up, yet where she was inviting me to discover reality in her make-believe world.
2) Discover what artefacts are being produced that capture what you are noticing?
In our case this seemed quite straightforward as Natasha was producing pictures that could be the illustrations of our story. But artefacts come in numerous forms – maybe a verbal story is being told that needs first to be recorded in its raw form – straight out of the mouths of babes? Is there a game that can be described? A physical map of activities that has or can be drawn? A cardboard creation or a stick and leaf cubby to photograph or paint?
3) Ask yourself and your child “What story is trying to be told here?”
There is something quite mystical about this step and consequently it’s hard to explain. The ancient Greeks used the term mythos and there is a lot about this step that relates to it – the truth that is trying to emerge from a set of events, whether real or imagined. In Natasha’s images we could see she was trying to challenge my understanding of what was possible in this world and which of us could be learner and which of us a teacher!
4) Prepare your artefacts to become illustrations for the book:
We used the artefacts as the centrepiece around which to construct the book. In our case that was a relatively simple idea because the artefacts were actual illustrations done by Natasha, and so “preparing them” was as simple as carefully scanning them to create digital images. But even if there is a written story in the child’s formative handwriting have a lateral think about how that can be digitally captured and the story can be anchored around that. It can represent the child’s very particular recording or noticing of the subject or idea developed in 1)
5) Write, refine and play:
I know there would be lots of ways or orders in which you could do these next steps, but we actually decided to use an online self-publishing website at this stage to actually try layouts of words and pictures. In other words, rather than trying to write words on paper or in word processing software and than combine them with our artefacts (illustrations) we laid down the artefacts and found ways that the hard text (if needed) would work around that. I don’t have a particularly imaginative brain when it comes to graphic design, so we used a fairly linear design (illustrations on one page, words on the next). Our concentration was on creativeness of narrative rather than beauty of product.
By the way, the selection of an online self-publishing service could be the subject of a whole blog post by itself. Our selection process was not particularly scientific – indeed we checked a few blog posts dedicated to this topic and saw which product tended to be rated most highly. In the end we selectedBlurb, particularly liking the fact that it had desktop software that allowed us to work away at our book offline. Some other thoughts about Blurb include:
· The desktop software was relatively easy to use and quite robust given the book we were developing was fairly basic in design.
· The integrated process for design, publishing and printing the book was simple to use.
· Remember if you use the software to produce your book, the book design is in a proprietary format that won’t be easily changed to something that can be printed or produced by other organisations.
· Blurb can produce books in hard and softcover formats, IPad compatible e-book format and PDF format.
· If you are considering selling your book (see below) the low volume production costs of Blurb are high. Also, though Blurb is based in San Francisco books being ordered in Australia seem to come from a printer in rural New South Wales. Yet the delivery costs seem to be several times higher than what it would cost you or I to actually send the product from there.
6) Decide if you want an “officially published” book: If you want this to be a “published” book
Eitherither to sell it or just for the satisfaction of having it “officially” recognised you’ll want to assign the book an ISBN number (by visiting this site in Australia), having the book catalogued according to the requirements National Library of Australia, complying with the legal deposit requirements of your home state and the Commonwealth and creating a copyright page, that page with the “small print” in published books. There is no official format for such a page but most books tend to comply to a fairly standard format so we had a look at a few Australian children’s books to get some ideas. Copyright is already asserted under Australian law so there is no need for a specific copyright statement but most books have one and we wanted something that reflected the ethos of our book – certainly not too hardline and legal. We settled for some gentle humour: The law of the land makes Natasha and Adrian the copyright holders of this work. Of course if you wanted to photograph one or two coworses, fishrabs, liobears or catodiles, place them on your wall and discuss them we’d be more chuffed than litigious.
7) Print your book:
The receipt of your printed book – your creation and name in print – will represent a delightful moment to be shared by you and your child. Because we used Blurb the printing process was integrated into the steps above. However if we had ready access to design and printing options at reasonable prices that would have represented a more flexible option, particularly given we decided to sell our book.
8) Decide if you want to sell your book:
Let’s face it. This was our first attempt at publishing a children’s book and a self-published effort at that. We were unlikely to compete with the professional industry and indeed or aim wasn’t to teach each other about professional publishing and competition anyway. But we did like the finished product and we thought the whole story – not just the story in the book but the whole idea about how this come about was worth sharing with the world. We used one of the online website builders with a built in e-commerce platform (we used Wix after comparing various options) to create the Togethimals sales site and decided that this would be a great opportunity to roll the whole book writing and publishing process into a family philanthropic endeavour – to help more schools, kindergartens and children’s community services get access to renewable energy. The proceeds of the book sales go to that cause. In fact we’ve taken the view that we are not so much selling the book as taking part in a great social experiment. We’ve started exploring how early years school classes can use the PDF version of the book and how it can be given away as an award for renewable energy crowdfunding for schools. It all helps spread the story and is consistent with our broad project aims.
So, those are some general steps and a little of the story behind the creation of our book. We hope it might inspire other adult and child partnerships to try writing a book together. But as we mentioned earlier in this post, while you can use these steps as a guide, give yourself the time and space to experiment with your own process. If our experience is anything to go by, you will greatly enjoy the journey.
© Copyright 2016 Danielle, All rights Reserved. Written For: Bubs on the Move


